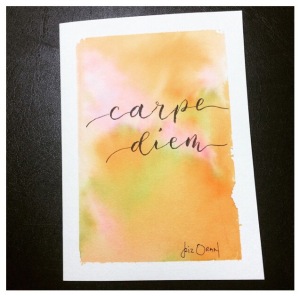
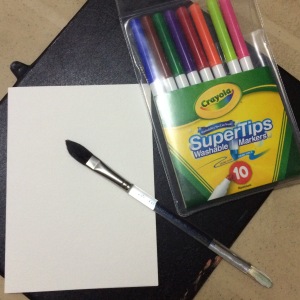
Here’s another fun way to use your washable markers. I actually use them on my calligraphy works until I tried this faux watercolor technique. They look great as a background design and very simple to do, i decided to make another personalized greeting card using this technique and I’m happy with the results 🙂 I’m also including a video clip on how i made this super fun and easy project.
Materials:
- Watercolor paper/card
- Washable Markers
- Plastic pouch
- Brush
- Masking tape (optional)
- Water
- First, i put masking tape all over the sides of my watercolor card attached to a board or on a table to strectch the paper. I’m using a Strathmore watercolor card in 140 lb. cold press. You may also use any watercolor paper.
- Generously apply water on to the card using your brush, make sure all parts are covered. Set aside.
- Then, you can start scribbling on the plastic pouch using your washable markers, you may also scribble some patterns or just go freehand. Here I chose to use 3 colors (pink, light green and orange).
- Put the plastic on top of your wet card or paper, making sure the side you scribbled on faces the card. Smoothen it from the center to the sides until the whole card is covered with paint.
- Gently remove the plastic by lifting it or sliding it off the card. Let it dry.
- Once its dry you can now write your design or caption.


There you have it! Another pretty greeting card that you can personalized. I love how the vibrant color turns out, it fits my caption so well. Hope you enjoy this simple DIY project the same way I did.
Carpe diem! 😉

